Before you start
- Use your legal first and last name as shown on official documents.
- Have your mobile number, Swiss residential address, nationality and work-eligibility status ready.
- During onboarding you publish your profile with services, add-ons, tags, photo, rates, availability and coverage area.
- ID, work permit when required, AHV, tax details, payout account and details confirmation are dashboard verification tasks after your profile is live.
Mobile walkthrough
The screenshots below show the profile-publish flow. Some eligibility questions change depending on nationality, permit status and EU/EFTA entry date.
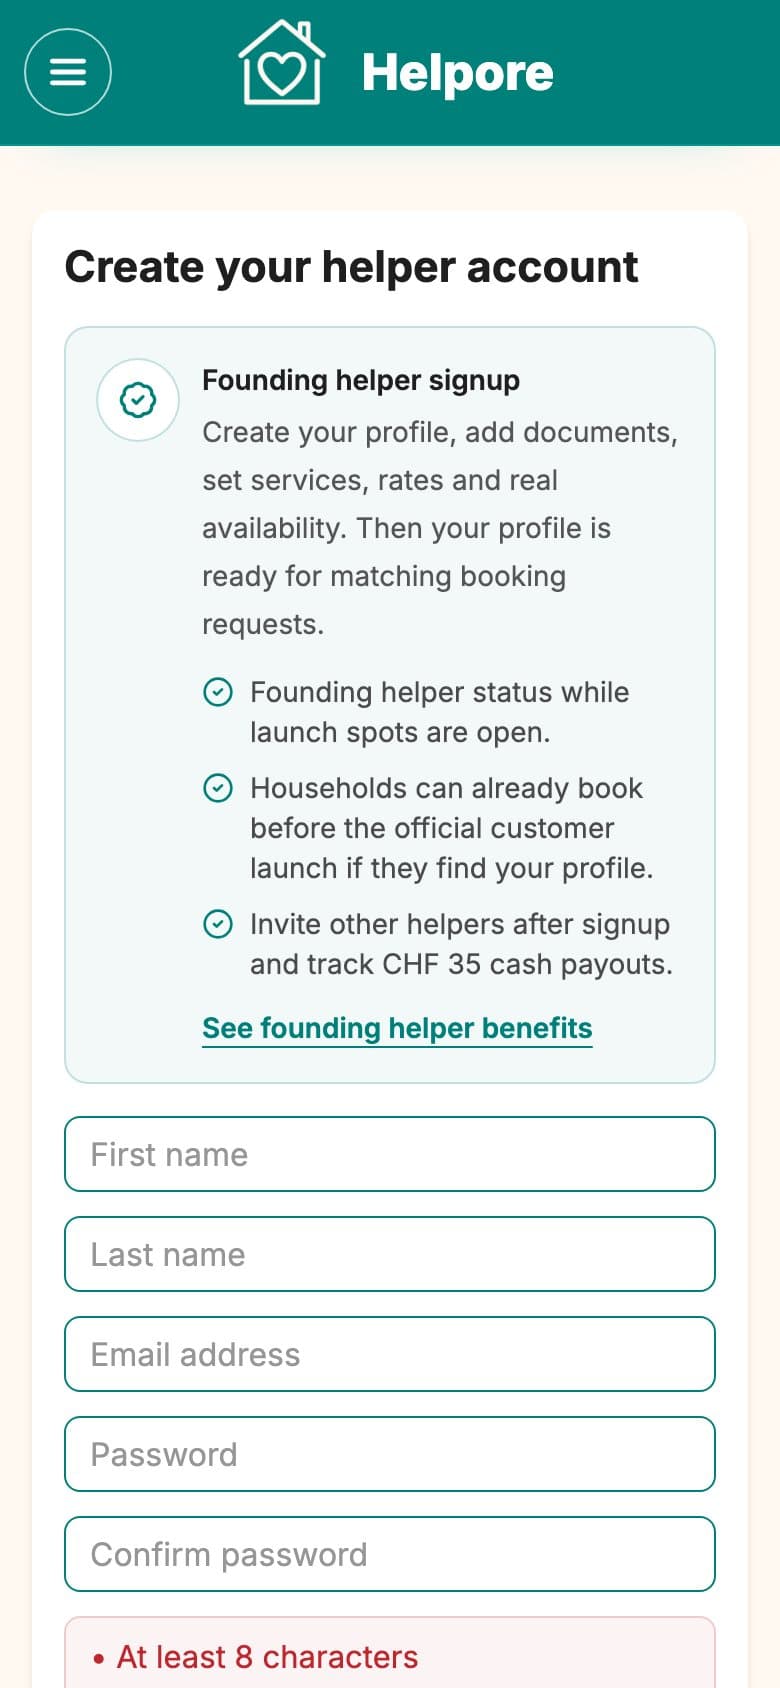
Signup 1Eligibility and Helper account
Confirm you can start the Helper journey before creating an account.
- 1Answer the eligibility question before entering an email address.
- 2Swiss citizens, C-permit holders, EU/EFTA short-stay nationals and other valid Swiss permit holders can continue.
- 3If you are EU/EFTA and arrived within the last 90 days, enter your Switzerland entry date.
- 4Create your account with email, password, terms and marketing choice, then confirm your email if requested.
Applicants without a Swiss work permit join the waitlist instead of spending time on the full flow.
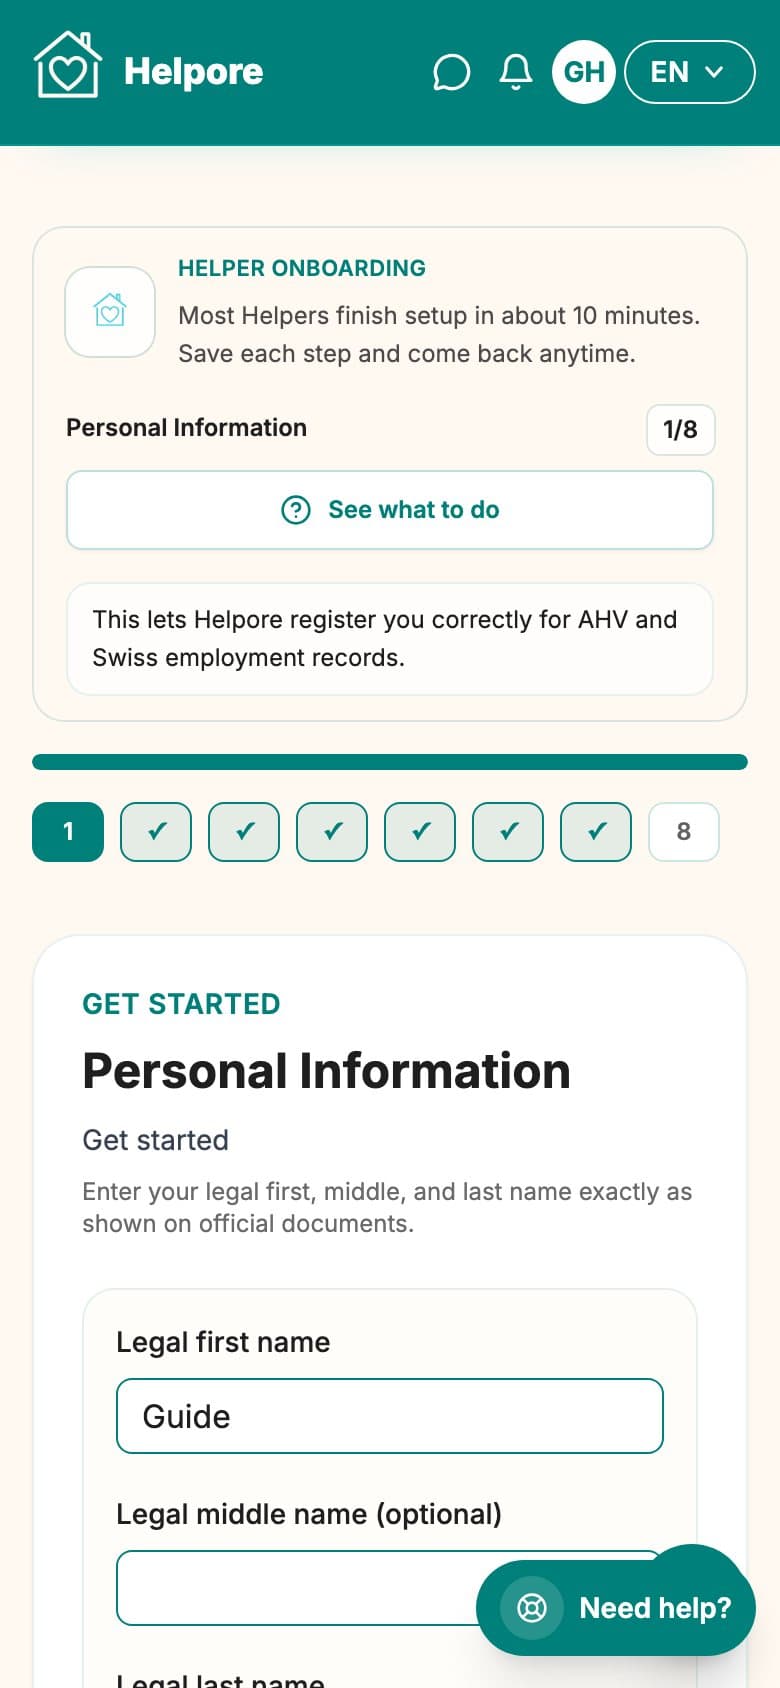
Personal 2Personal information
Tell Helpore who you are legally and which language you prefer.
- 1Enter your legal first and last name exactly as they appear on official documents.
- 2Add a middle name only if you use one officially.
- 3Choose the name households should see, if different.
- 4Add your date of birth and preferred language, then save the step.
The legal name helps Helpore compare your profile with documents later. The public name can still be friendlier.

Contact 3Contact and Swiss address
Add a reachable phone number and your Swiss residential address.
- 1Select the correct phone country code and enter your mobile number.
- 2You can verify by SMS now, or continue and finish phone verification from the dashboard.
- 3Use address autocomplete where possible, or enter street, postal code and city manually.
- 4Save the step once the phone number and Swiss address are correct.
Phone verification is required before accepting bookings, but it should not block profile publication.
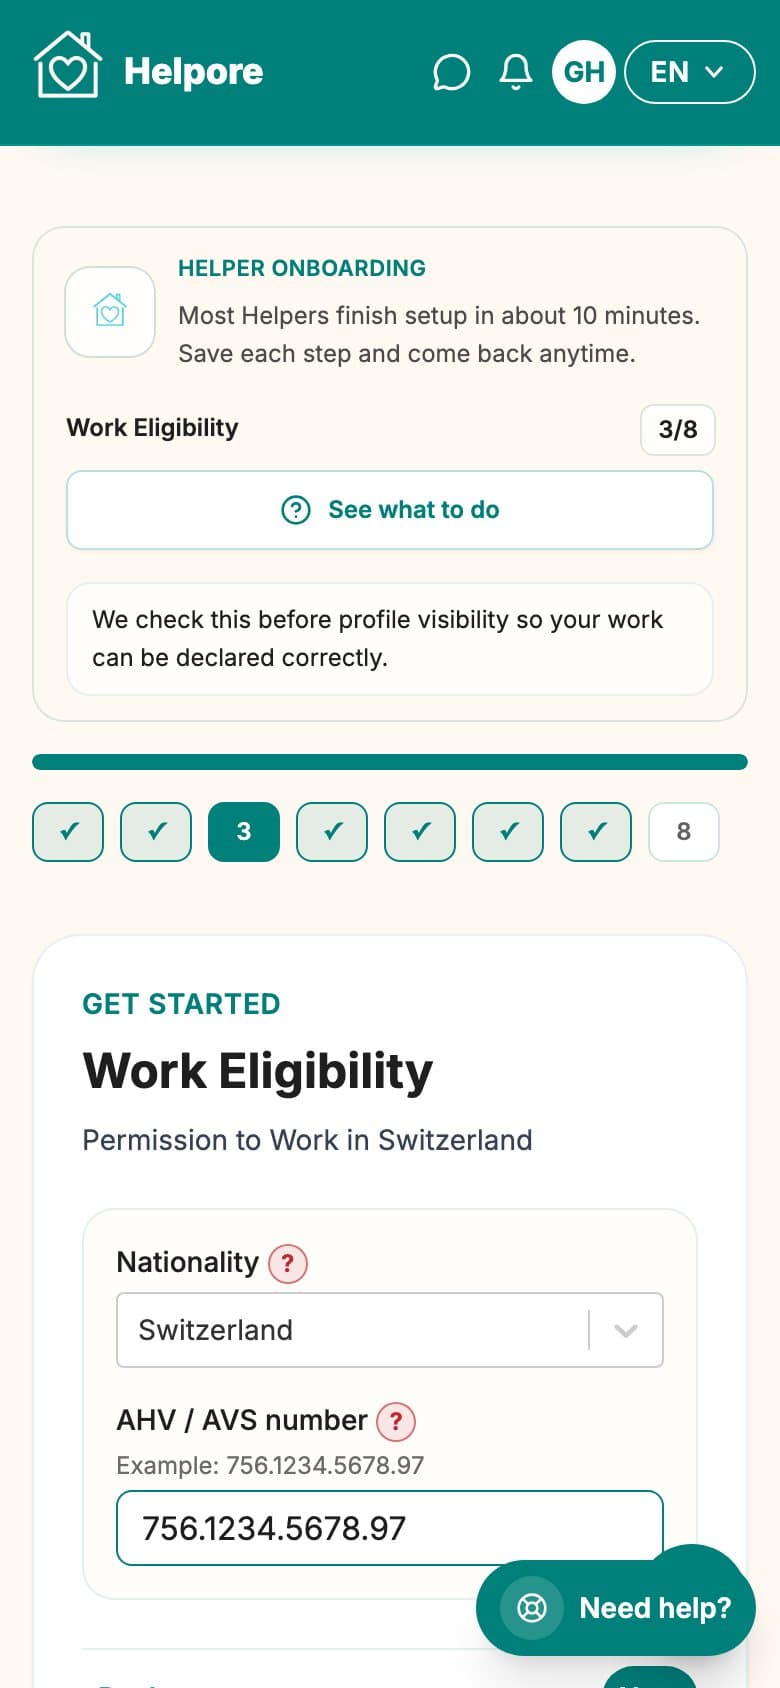
Eligibility 4Work eligibility
Confirm the work-right status selected at signup.
- 1Select or confirm your nationality.
- 2Confirm the eligibility bucket shown from signup.
- 3For EU/EFTA short-stay status, check the Switzerland entry date is within the last 90 days.
- 4If a Swiss permit applies, confirm that it allows work. Permit details and uploads come later in the dashboard.
This step decides which dashboard verification tasks apply. It does not ask for AHV, tax, IBAN or signature.
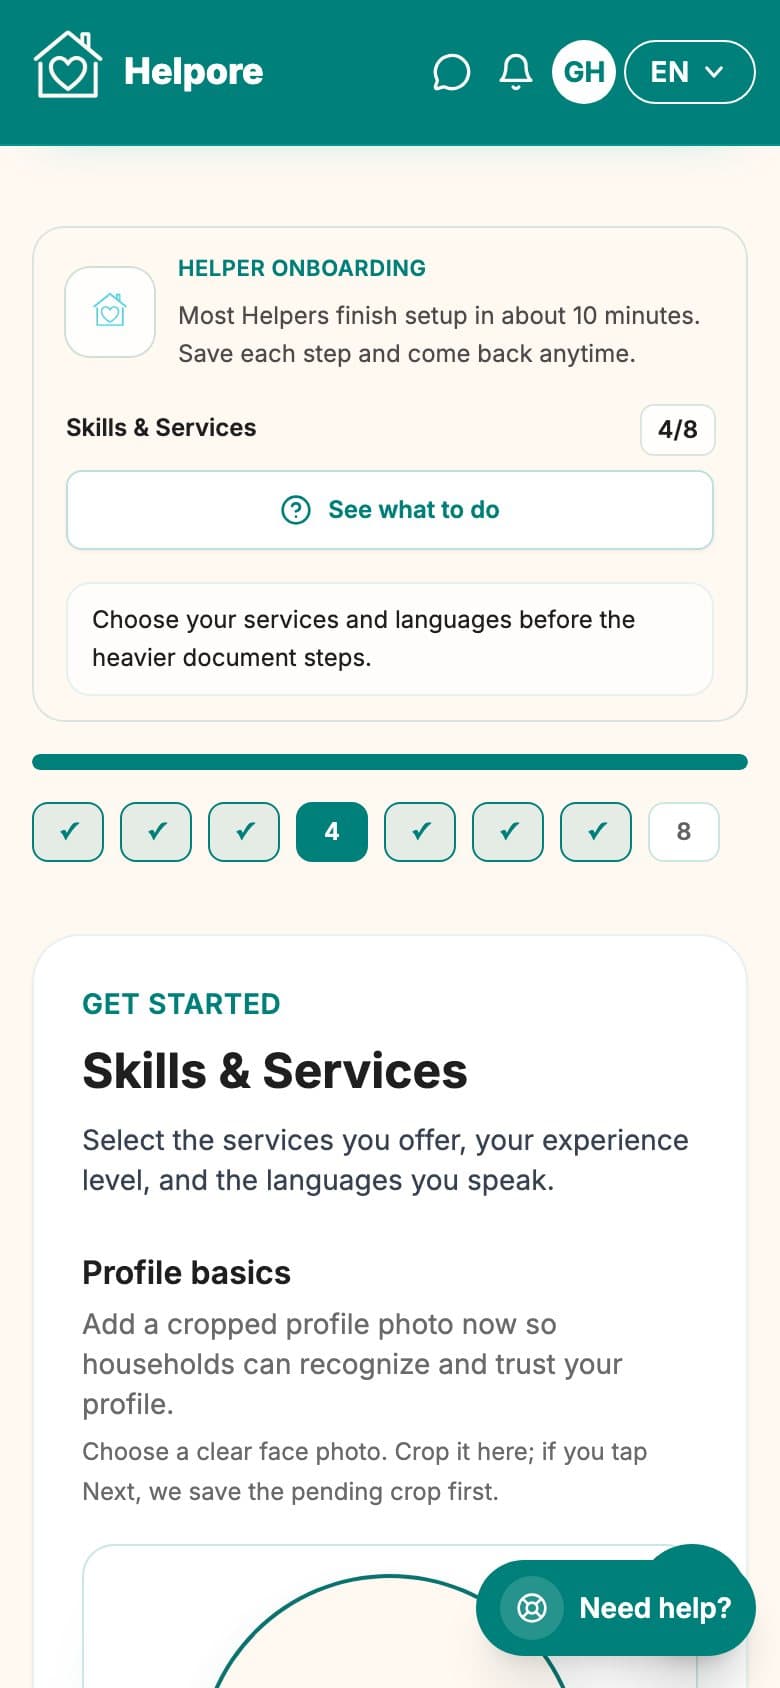
Services 5Services, add-ons and traits
Choose what you offer and how households should match with you.
- 1Select all services you want to offer; multiple selection is allowed.
- 2Choose the add-ons you offer for each selected service.
- 3Set your experience per service and add every language you can use with households.
- 4Select profile tags, comfort answers and allergies so matching is clearer.
Services, add-ons, tags and languages stay editable from the Helper dashboard.
Profile 6Photo, profile and rates
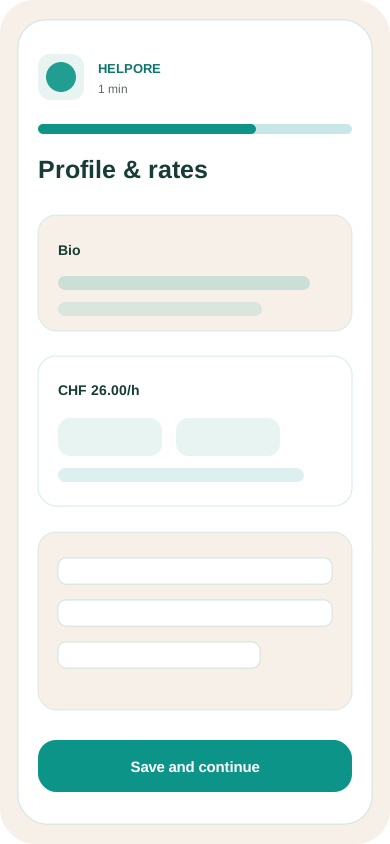
Create the profile households will see and set gross hourly prices.
- 1Upload and crop a clear profile photo; it is required for publishing.
- 2Use the suggested headline and bio or edit them. Bio and headline can stay prefilled.
- 3Choose one rate for all services or set a different rate per service.
- 4Check the cantonal minimum and the monthly gross estimate before continuing.
Rates can be changed later in the dashboard, but they must meet the minimum shown.
Publish 7Availability and coverage
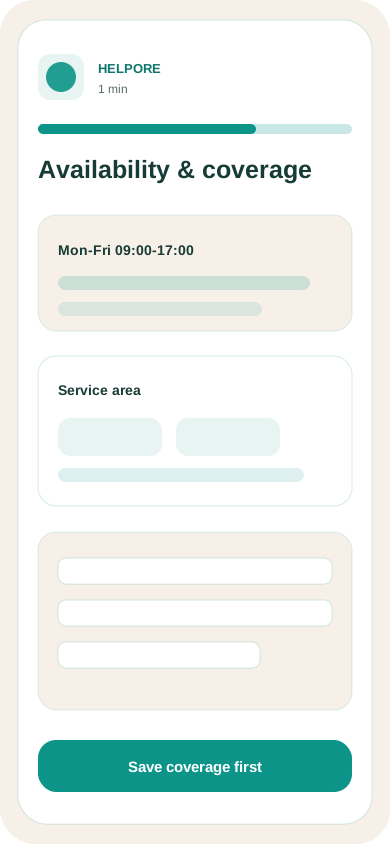
Set when and where households can request your services, then publish.
- 1Adjust the weekly hours clients should be allowed to book.
- 2Disable days you do not want clients to book.
- 3Confirm the service area and radius. The default radius starts at 10 km.
- 4Click Publish my profile once. Your dashboard will show verification tasks for bookings.
You can add calendar blockers, holidays and change your hours later from the Helper dashboard.
Ready to continue?
Create your Helper account or return to onboarding. After publication, your dashboard shows the exact verification tasks needed before accepting paid bookings.